
September meal prep for toddlers: 5 freezer-friendly spring recipes with peas, broad beans and strawberries
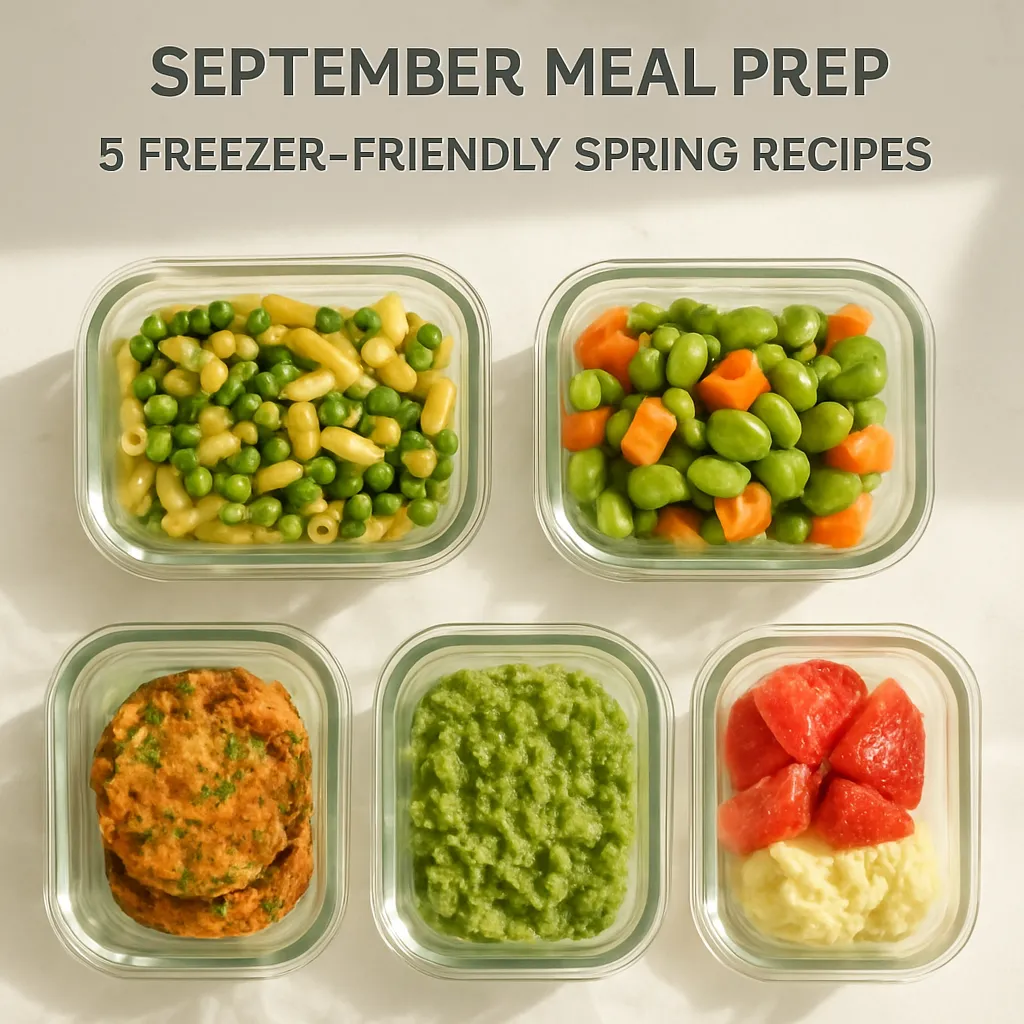
Nice - here’s how Steve keeps dinner simple without sacrificing flavour or sanity. A few good habits and the right packing tricks mean you can pull a proper family meal out of the freezer in minutes.
Practical freezer basics Steve swears by
- Batch once, eat many times: Cook double or triple batches when you have time and separate toddler portions from family portions straight away. Saves reheating and fiddling later.
- Cool fully, then freeze: Let food cool for a bit on the bench, then pop into the fridge to finish cooling if you can. Don’t shove piping-hot trays into the freezer or you get soggy ice crystals.
- Flat bags for speed: Spoon sauces, ragu or mash into zip-lock bags, flatten them out, label and stack. They thaw faster and take up less room.
- Use ice cube or silicone muffin trays: Perfect for toddler-sized dollops of veg purées, minced bolognese or blended broad bean mash. Once frozen, pop them into labelled bags.
- Label everything: Use masking tape or a sticky date label with the name and freeze date. Best quality within 2-3 months.
- Keep flavours modular: Freeze sauces, cooked veg and proteins separately when you can. It’s easier to customise a toddler plate and reheat parts evenly.
- Little portions for littlies: Aim for roughly 1/4 to 1/3 cup per meal for toddlers, depending on appetite. Freeze those amounts so you don’t defrost more than needed.
- Reheat properly: Thaw in the fridge overnight when possible, or reheat from frozen on the stove or oven. Make sure food is piping hot all the way through before serving.
Steve’s reliable freezer-friendly meals
- Big bolognese with hidden veg: Blitz carrots, zucchini and a handful of peas into the mince, cook and freeze in family tubs plus toddler-size muffin portions.
- One-tray roast chicken and veg: Roast with sweet potato, pumpkin and a scattering of broad beans, shred half for baby-friendly bites and freeze the rest in meal tubs.
- Lazy shepherd’s pie: Mash sweet potato with a touch of butter, layer over minced lamb and peas, cool, slice into portions and freeze flat.
- Mini meatballs and tomato sauce: Roll small meatballs that are toddler-friendly, simmer in sauce, freeze on a tray then transfer to bags. Great for pasta nights.
- Veg-forward rissoles: Make lean rissoles with grated veg and peas mixed in. Freeze raw on a tray, then bag and cook straight from frozen.
- Smoothie packs: Portion frozen strawberries, banana chunks and spinach into bags so mornings are a two-minute whizz.
Quick tips for peas, broad beans and strawberries
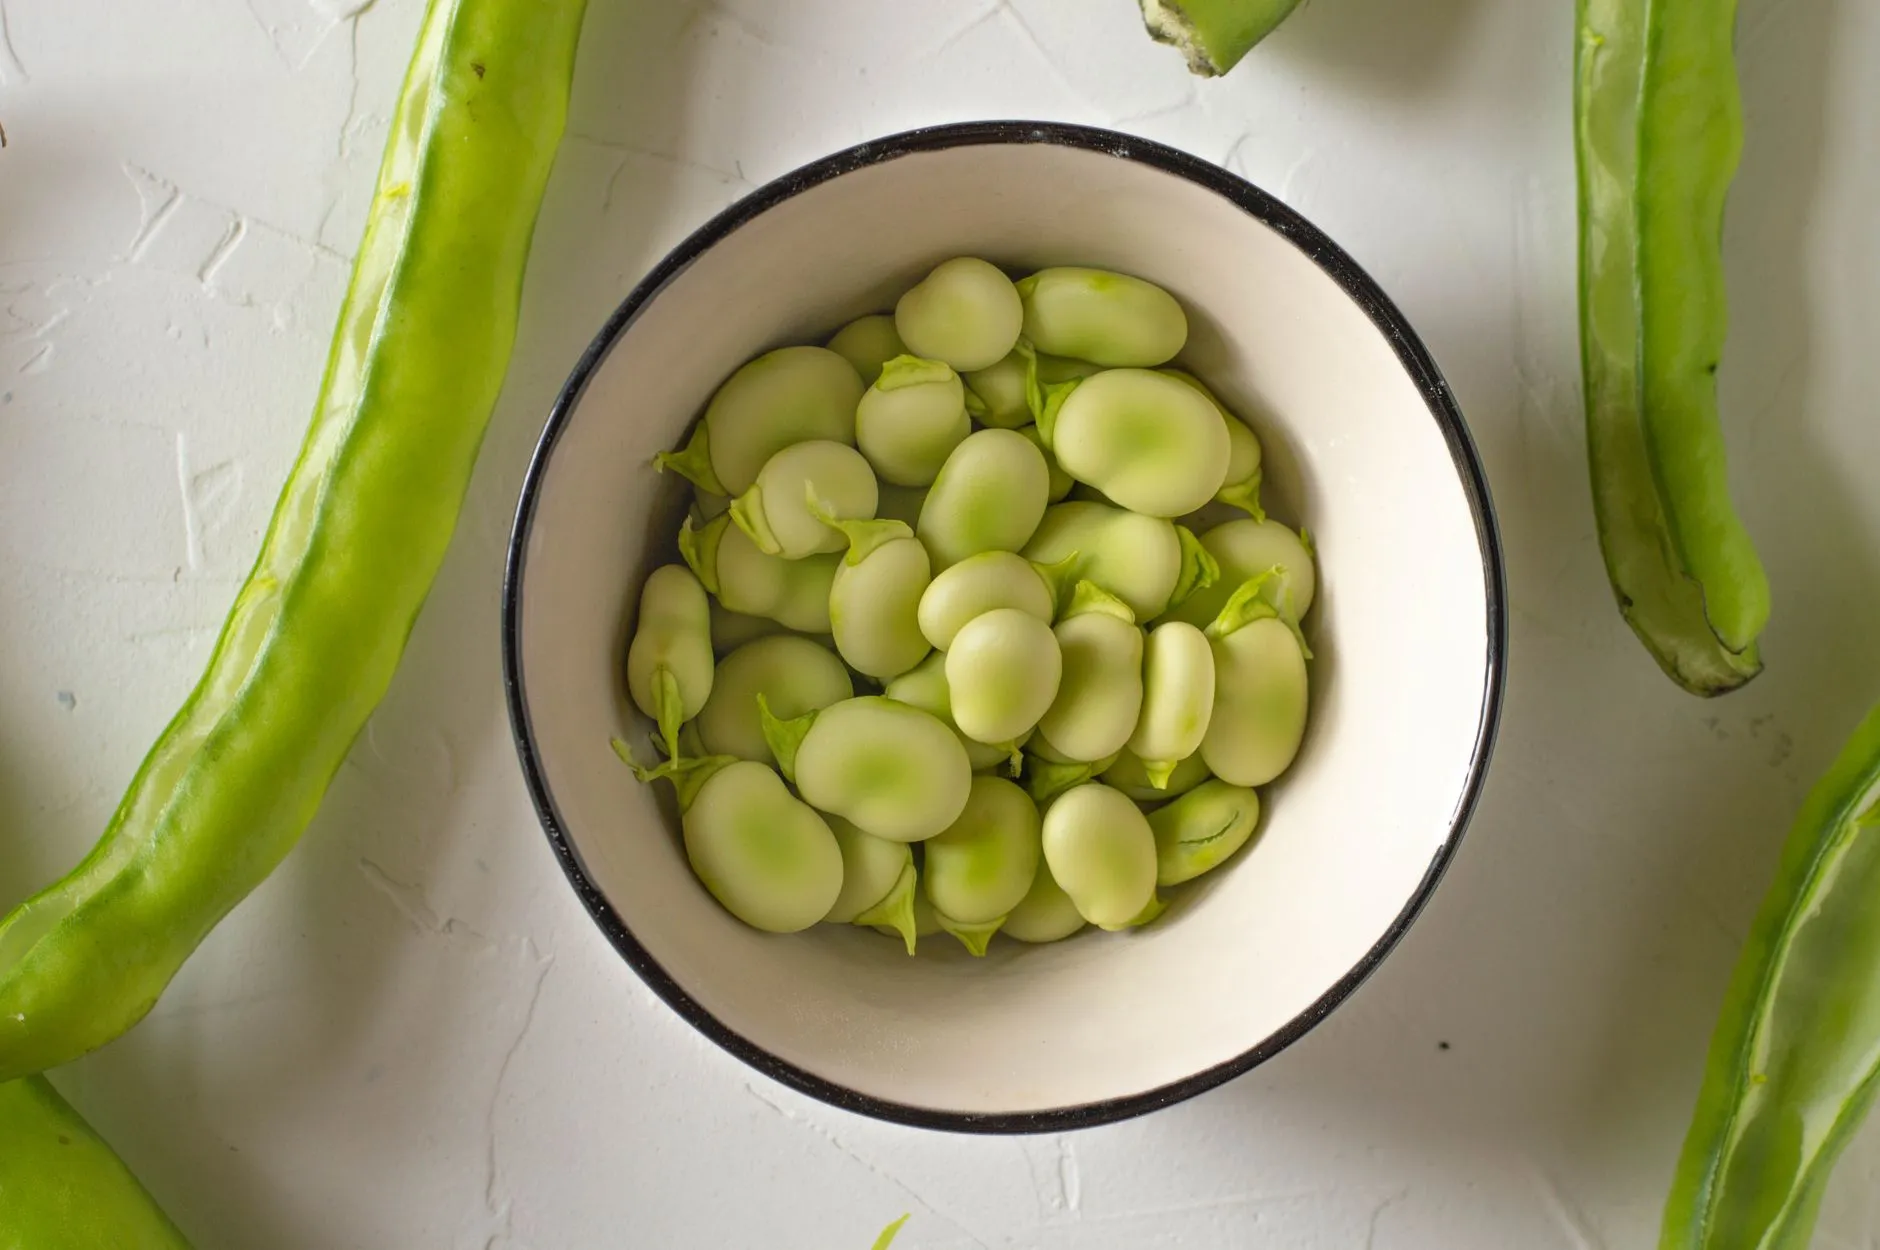
- Peas and broad beans: Blanch briefly, cool in iced water, then freeze spread on a tray before bagging so they don’t clump. Broad beans are nicer if you slip the skins after blanching for toddlers.
- Strawberries: Slice and freeze single layer first, then bag. Ready for smoothies or breakfast pops.
If you can get into the rhythm of cooking once and freezing lots of smaller portions, weeknights stop being chaotic. Steve says the little extra time on a weekend pays back in calm evenings and less takeaway.
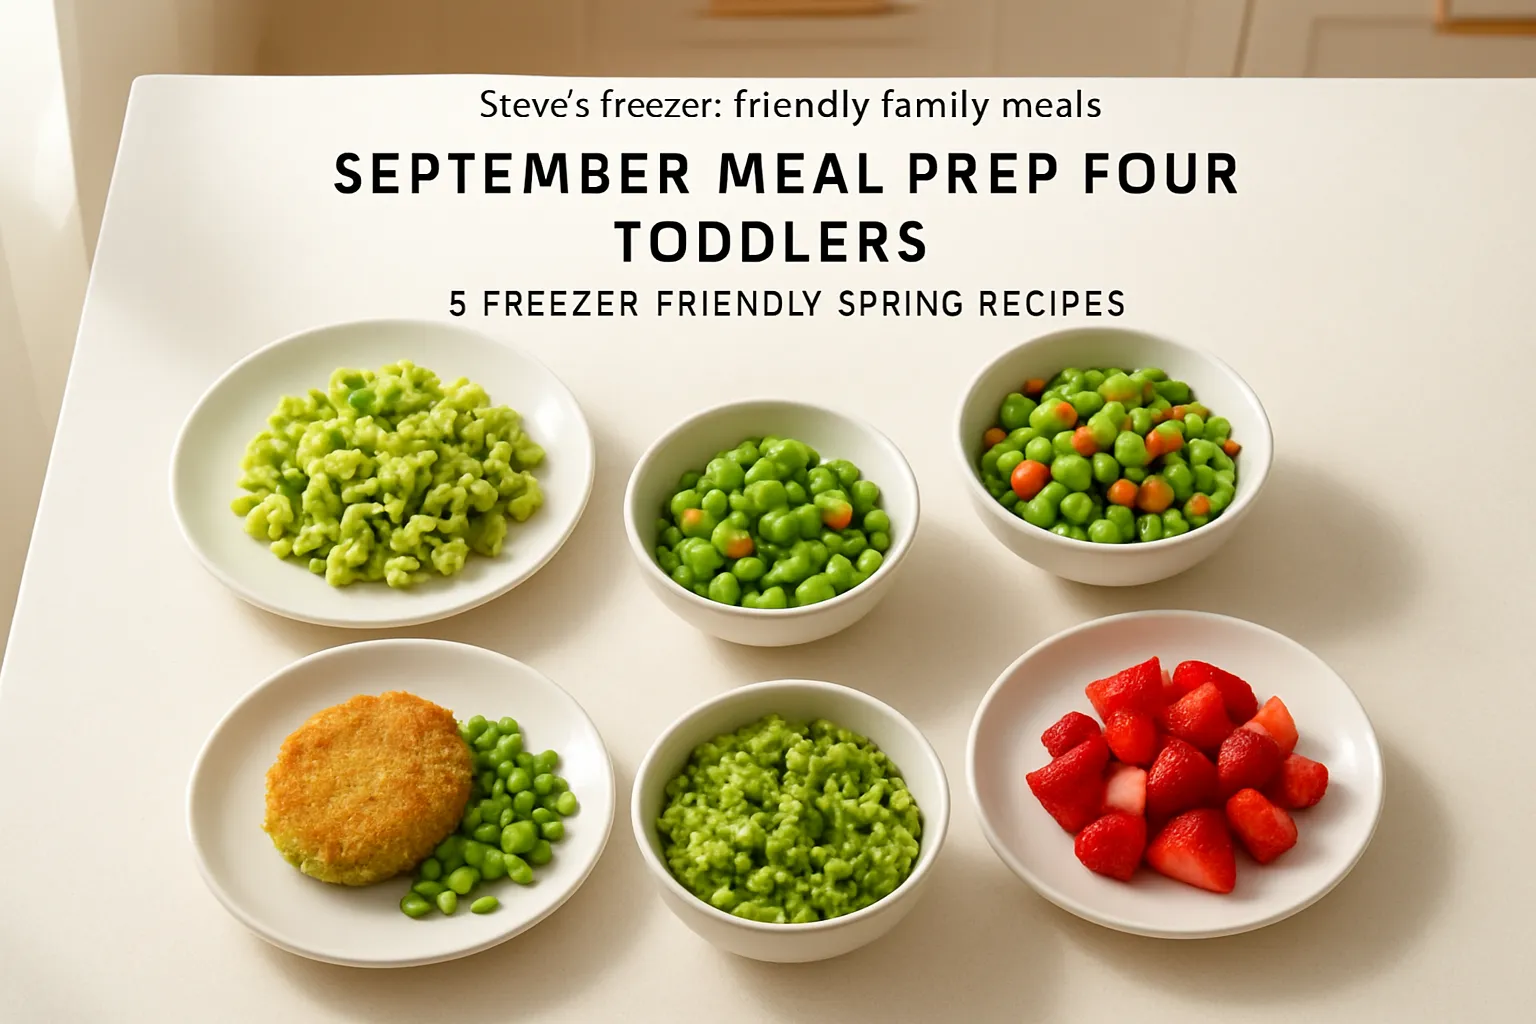
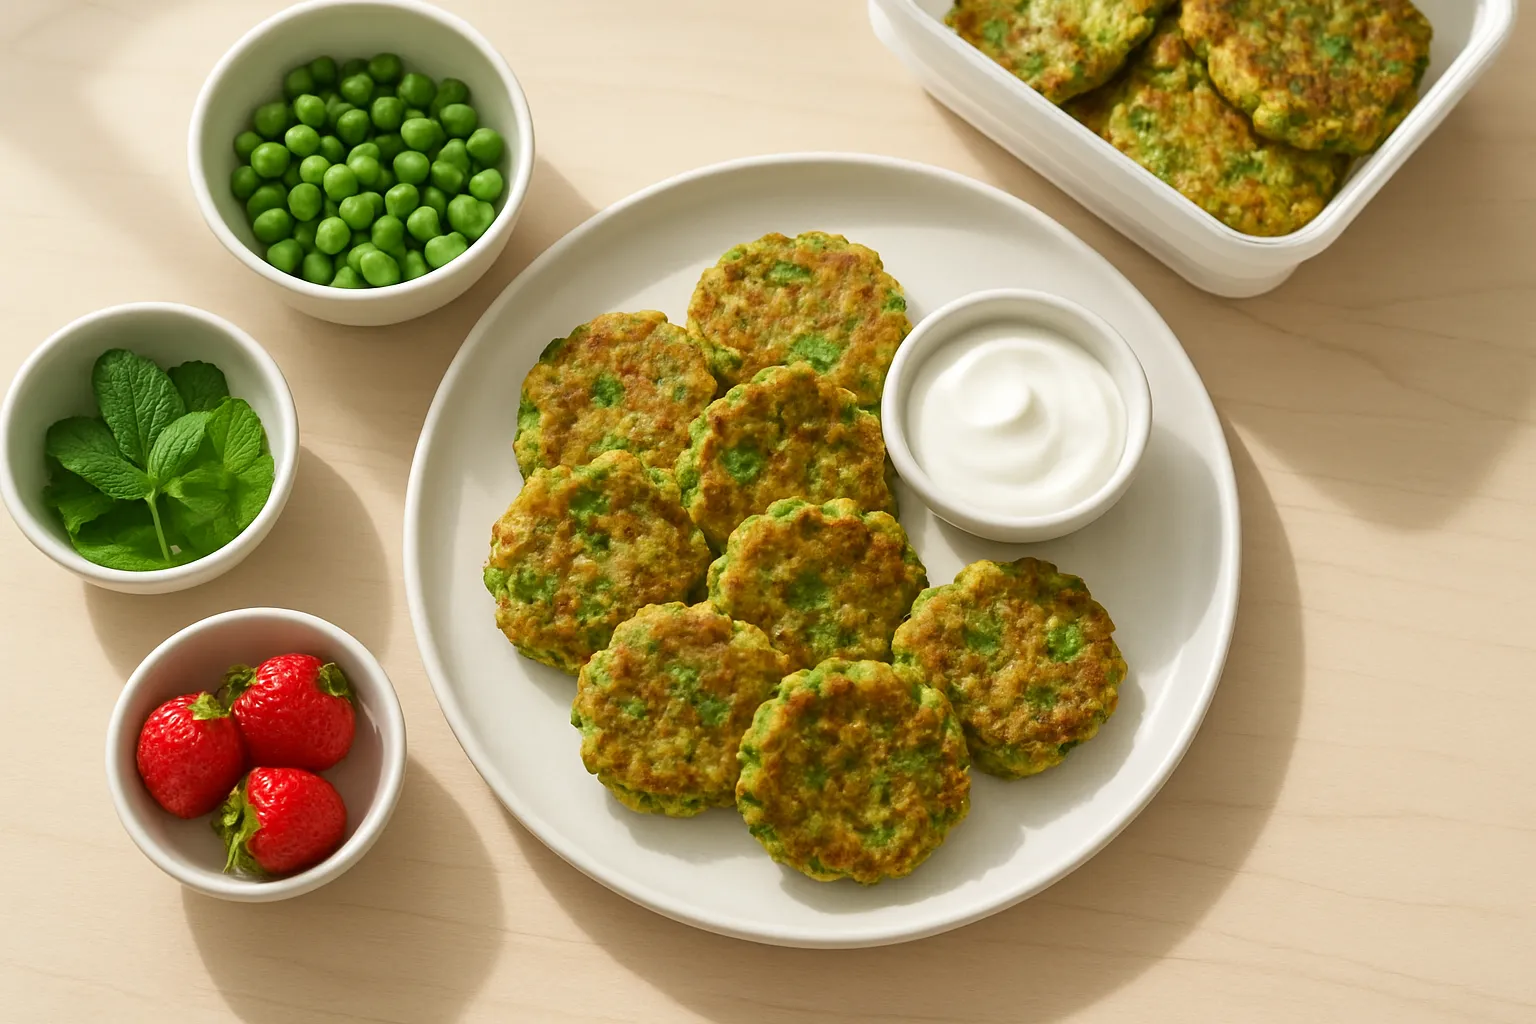
Next up, pea and mint toddler fritters. These are bright, soft and easy to freeze - perfect for lunchboxes, afternoon snacks or dinner sides when you’re short on time.
Ingredients (makes about 12 small fritters)
- 200 g frozen peas, rinsed and drained
- 1 small zucchini, grated and squeezed of excess moisture (optional but sneaky veg bonus)
- 1 egg
- 1/3 cup self-raising flour (about 50 g) - swap to gluten-free flour if needed
- 2 tbsp milk (dairy or plant milk)
- 2 tbsp finely chopped fresh mint leaves (or parsley if your kid isn’t into mint)
- 2 tbsp grated cheddar or parmesan (optional)
- pinch of pepper if you use seasoning for older toddlers
- 1-2 tsp olive oil for frying
Method
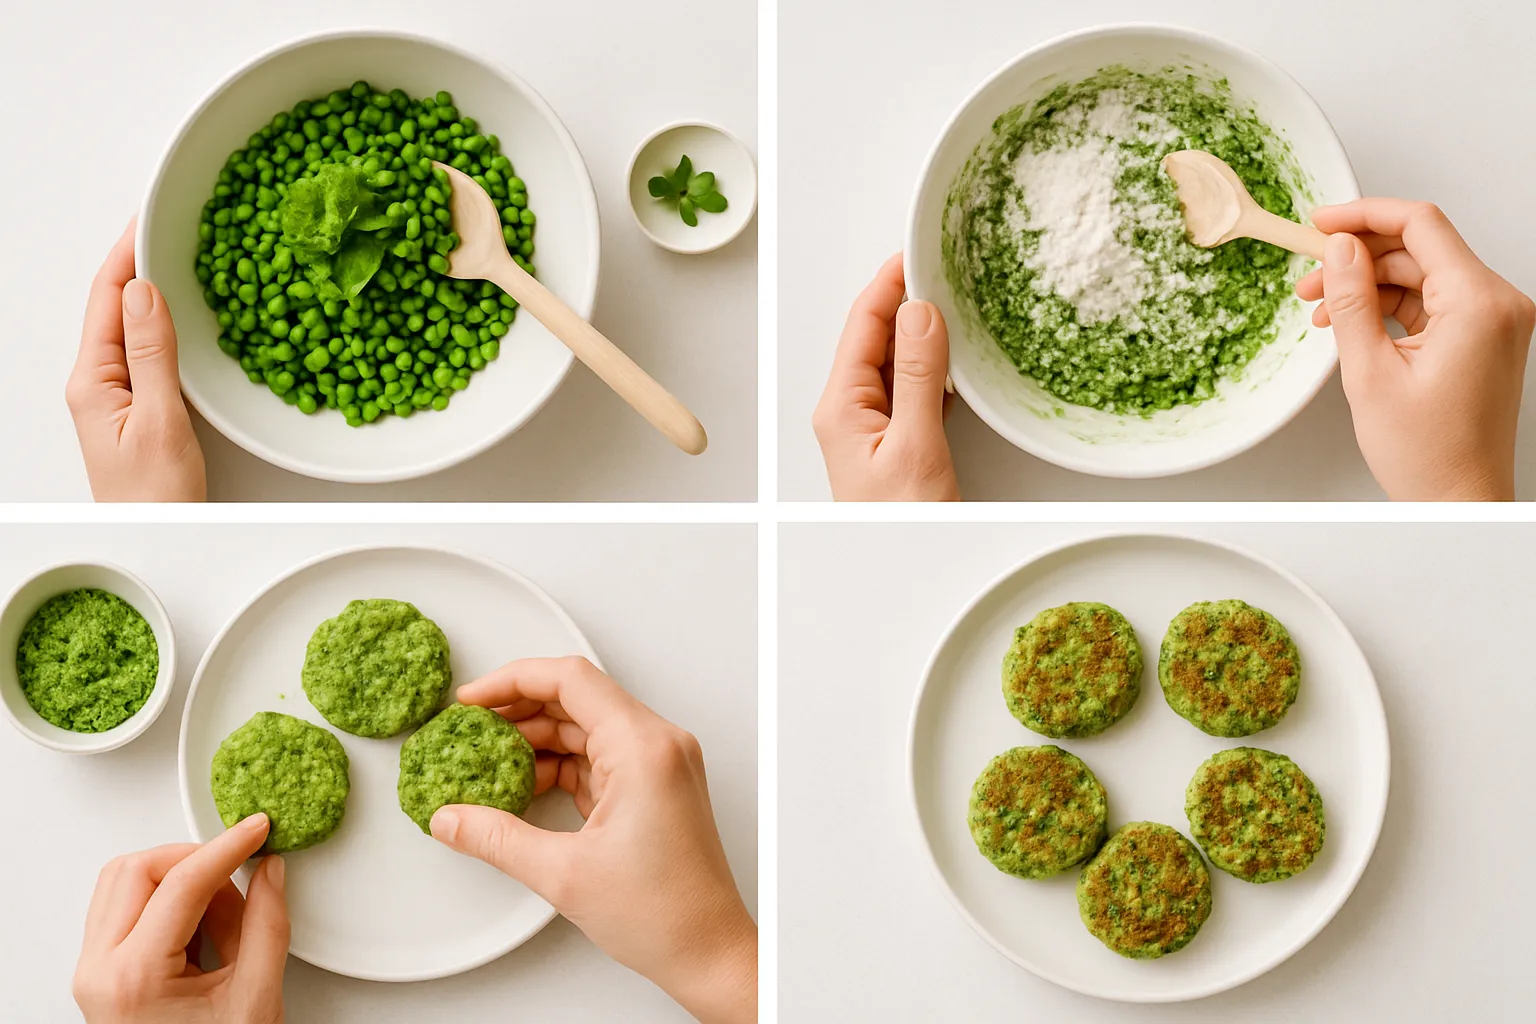
- Defrost the peas quickly by running under warm water, then drain. Roughly mash them with a fork or pulse a few times in a food processor so there are still little bits for texture.
- In a bowl mix the mashed peas, grated zucchini, egg, milk, mint and cheese. Fold through the flour until you have a soft batter. If it’s too wet add a tablespoon more flour.
- Heat a non-stick frying pan over medium-low and brush with a little oil. Spoon heaped teaspoons of batter into the pan and flatten gently into small rounds.
- Cook slowly for 3-4 minutes a side until set and golden. Lower heat if they colour too quickly so the centres cook through.
- Cool on a wire rack. For little ones under two, cut into strips or halves so pieces are soft and manageable.
Freezing and reheating
- Cool completely, place on a baking tray in a single layer and freeze until solid, then transfer to labelled freezer bags or containers. Press out excess air.
- Store frozen up to 3 months.
- Reheat from frozen in a 180 C oven or air fryer for about 10-12 minutes until hot. You can microwave from frozen for convenience, but they’ll be softer and may be a bit soggy.
- Thaw overnight in the fridge if you want quicker oven reheating. In the fridge cooked fritters will keep 2 days.
Make-ahead tips and batch scaling
- Double the recipe and freeze in portions for quick weekday meals. Cook in batches and freeze as above.
- If you’d rather, you can freeze uncooked patties on a tray and then cook from frozen, adding a couple of extra minutes each side.
Allergies and swaps
- Egg-free option: mix 1 tbsp ground chia or flax with 3 tbsp water, let sit to gel, then use in place of the egg. You may need a touch more flour to bind.
- Dairy-free: omit the cheese and add a tablespoon of nutritional yeast or extra herbs for a savoury hit.
- Gluten-free: use a gluten-free self-raising mix or a combo of gluten-free plain flour plus 1 tsp baking powder.
Winning tricks for picky eaters
- Swap mint for parsley or basil if mint is too strong.
- Blend the peas a bit finer and add a grated carrot or a spoon of sweet potato mash. They’ll barely notice.
- Serve with smashed avocado, a mild yoghurt dip or a little tomato sauce for dipping. Crumble into pasta or torn bread for extra variety.
Safety note
- Always check they’re not too hot and cut to an age-appropriate size. Keep fritters soft for younger toddlers to reduce choking risk.
They’re easy to make, lovely bright green, and keep well in the freezer - lifesavers for busy weeks.
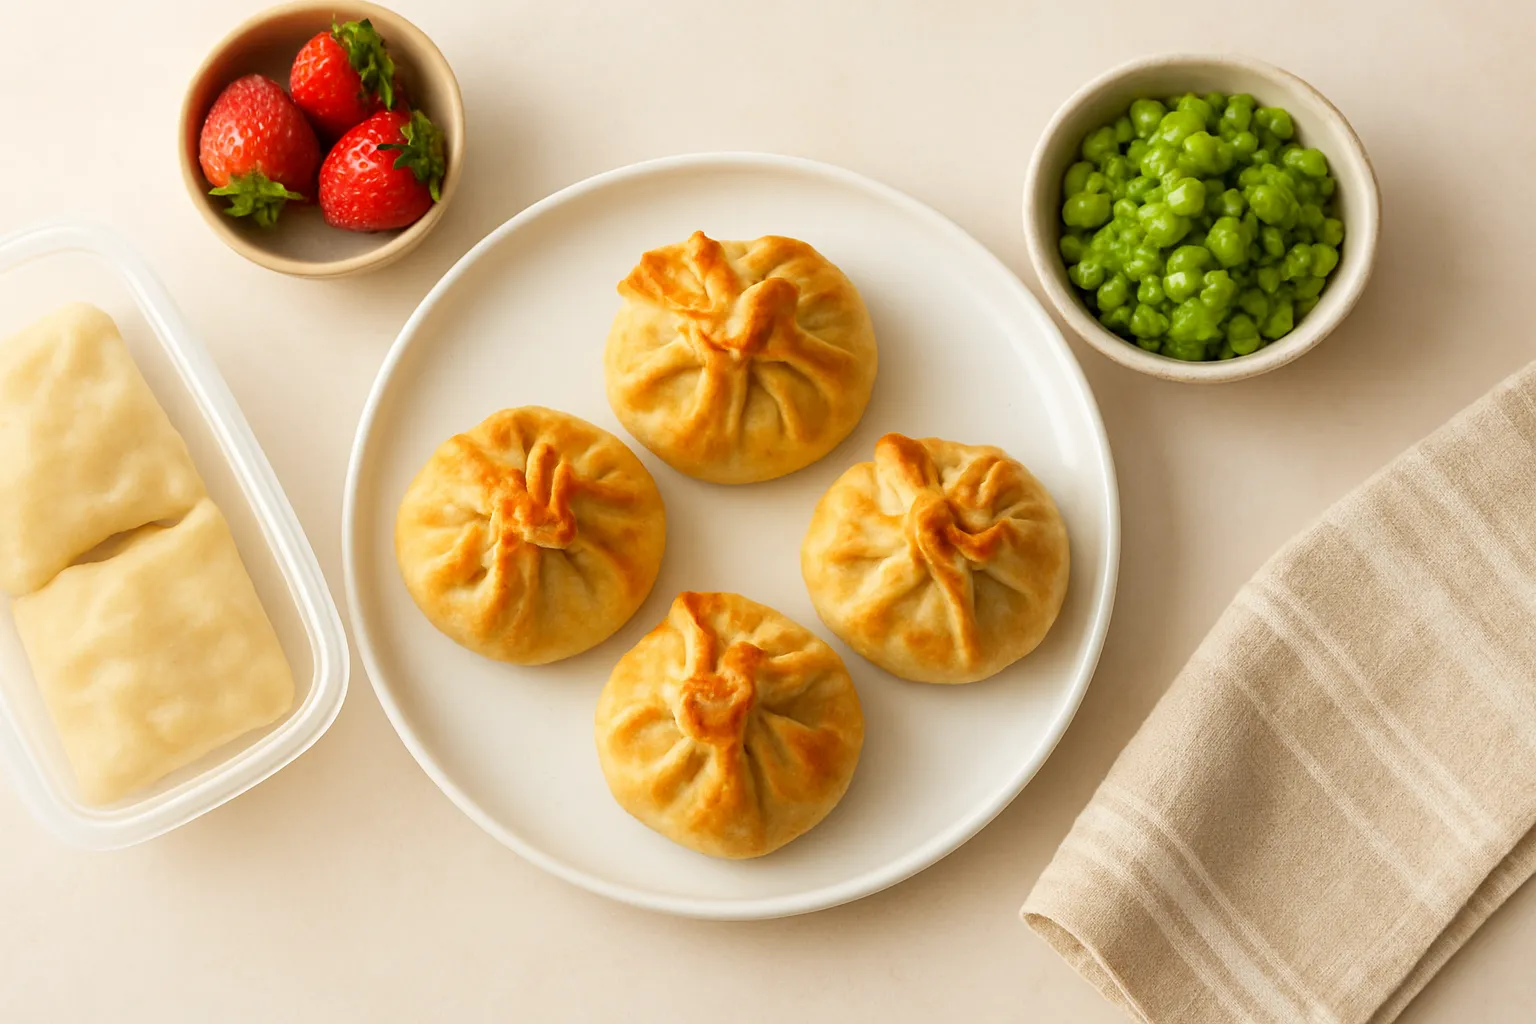
Creamy broad bean pouches
Light, bright and super freezer-friendly, these pouches are great for when broad beans are in season. The trick is to double-peel the beans so the texture is silky and gentle on little mouths.
What you need (makes about 6 pouches, 100 g each)
- 400 g broad beans in pods (about 250 g shelled)
- 1 small waxy potato or 1/2 a sweet potato, peeled and chopped (about 150 g)
- 2 tablespoons ricotta or cream cheese, or 1 tablespoon olive oil for a dairy-free option
- 3-4 tablespoons milk, breastmilk or formula to loosen
- Small handful of mint or parsley (optional)
- A tiny squeeze of lemon zest for older toddlers (optional)
- No added salt
Method
- Shell the broad beans. Bring a pot of water to the boil, add the beans and blanch for 1-2 minutes, then plunge into an ice bath. The outer skin should peel away easily. Pinch the inner skins off each bean so you are left with the bright green kernels.
- Put the chopped potato in a small pot, cover with water and simmer until very tender, about 10-12 minutes. Drain.
- Return the drained potato to the pot with the skinned broad beans. Add the ricotta or olive oil and 2 tablespoons of milk. Warm gently for a minute so everything softens.
- Blend to the texture you need. For younger toddlers, keep it very smooth. For older toddlers, pulse a few times so there are soft lumps. Add more milk a little at a time if it needs to be looser.
- Stir through chopped mint or parsley if using, and a tiny bit of lemon zest for a fresh lift for older kids.
Freezing and storage
- Cool completely before packing. Spoon into reusable silicone pouches, baby food pouches, or a silicone ice cube tray (two cubes is roughly one serving). If using zip bags, lay flat to freeze so they stack neatly.
- Label with date and keep for up to 3 months.
Thawing and reheating
- Best option is overnight in the fridge. If you’re in a hurry, pop the frozen pouch in a bowl of hot water for a few minutes, then squeeze into a bowl and stir.
- Microwave from frozen on medium in short bursts, stirring in between. Always check the temperature before serving.
- If the texture tightens on freezing, loosen with a little milk or water when reheating.
Serving ideas
- Spoon onto soft toast fingers, mix through small pasta shapes, or dollop onto mashed potato. Add tiny pieces of soft veg or cooked chicken for a boost of protein.
- For older toddlers, mix a few whole skinned beans back in for interest and chewing practice.
Swaps and tips
- No dairy? Use olive oil and extra milk or a small starchy veg like cauliflower to keep it creamy.
- Want more protein? Stir in a spoonful of plain full-fat Greek yoghurt at serving time for older toddlers.
- If beans are giving a bit of wind, try smaller portions at first and add a pinch of fennel seed to the cooking water.
These are perfect for busy afternoons or thrown into a lunchbox for a quick warm meal. Simple, bright and freezer-friendly.
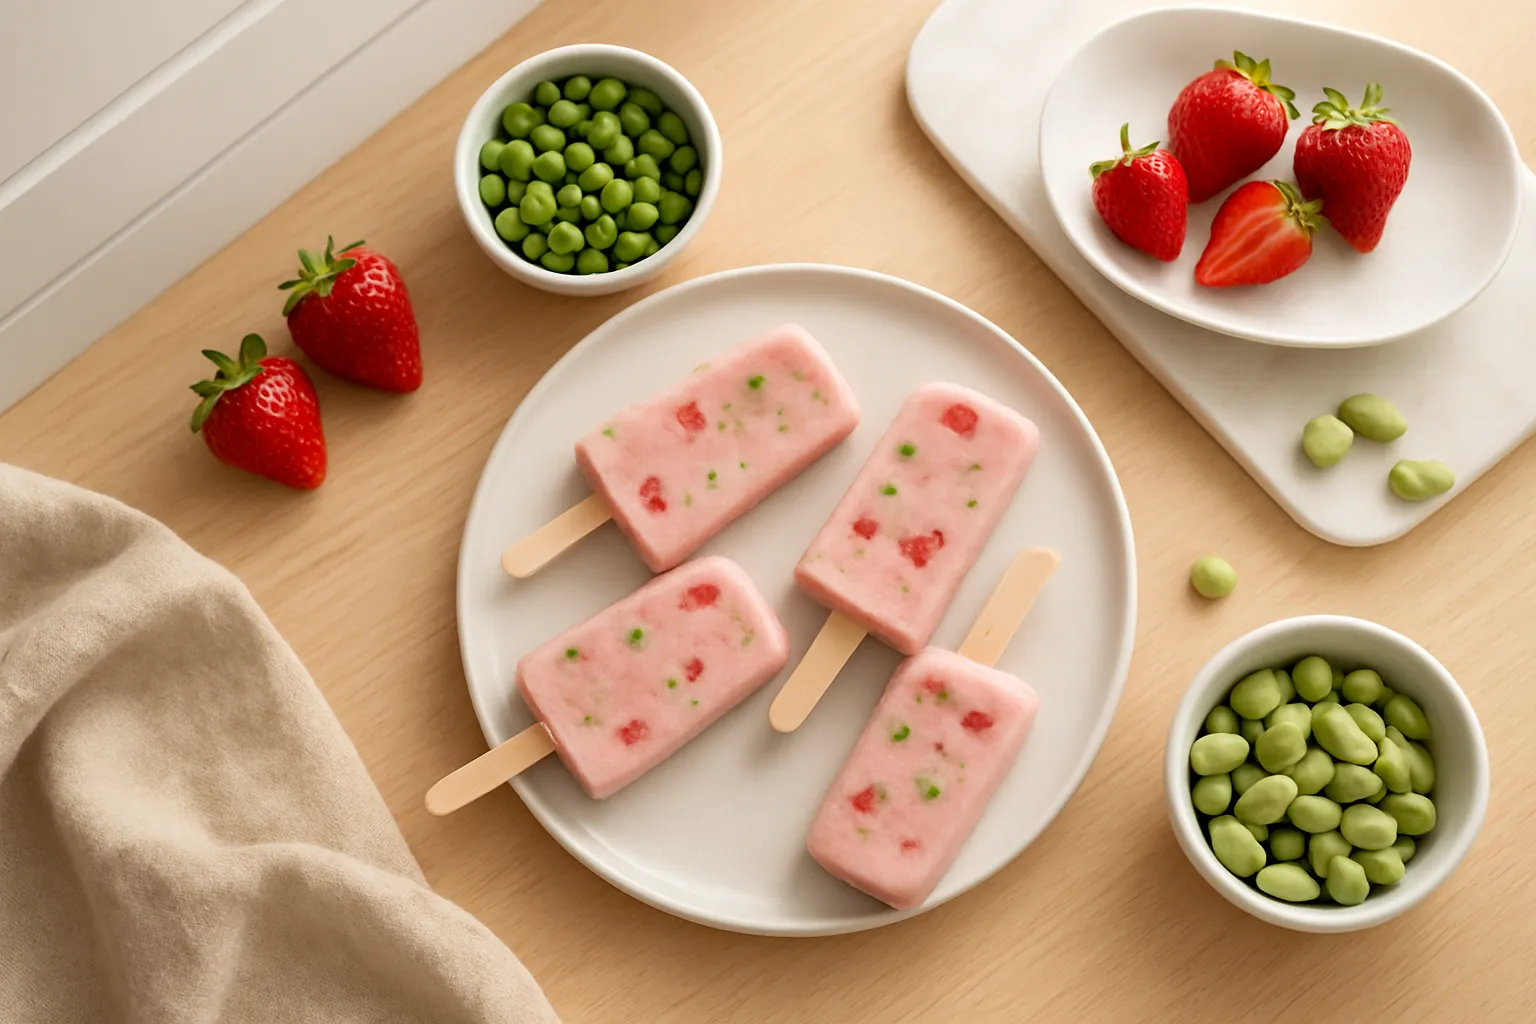
Strawberry brekkie pops
These are a real lifesaver for hectic mornings. Sweet, creamy and tidy for little hands, they freeze well and thaw into a quick brekky or snack.
Ingredients (makes about 8 small pops)
- 300 g strawberries, hulled and halved
- 1 ripe banana
- 250 g natural yoghurt (or coconut yoghurt for dairy free)
- 2 tbsp rolled oats or cooked quick oats (optional for extra filling)
- 1 tsp vanilla extract (optional)
- For children under 12 months, do not add honey. For over 12 months, 1 tsp honey or maple syrup if you want it sweeter.
Method
- Toss the strawberries and banana into a blender or food processor. Pulse until mostly smooth but leave a little texture so the pops are not rock-hard when frozen.
- Add yoghurt, oats and vanilla. Blend briefly until combined. If using oats, the mix will thicken slightly.
- Taste and adjust sweetness only if the child is over 12 months.
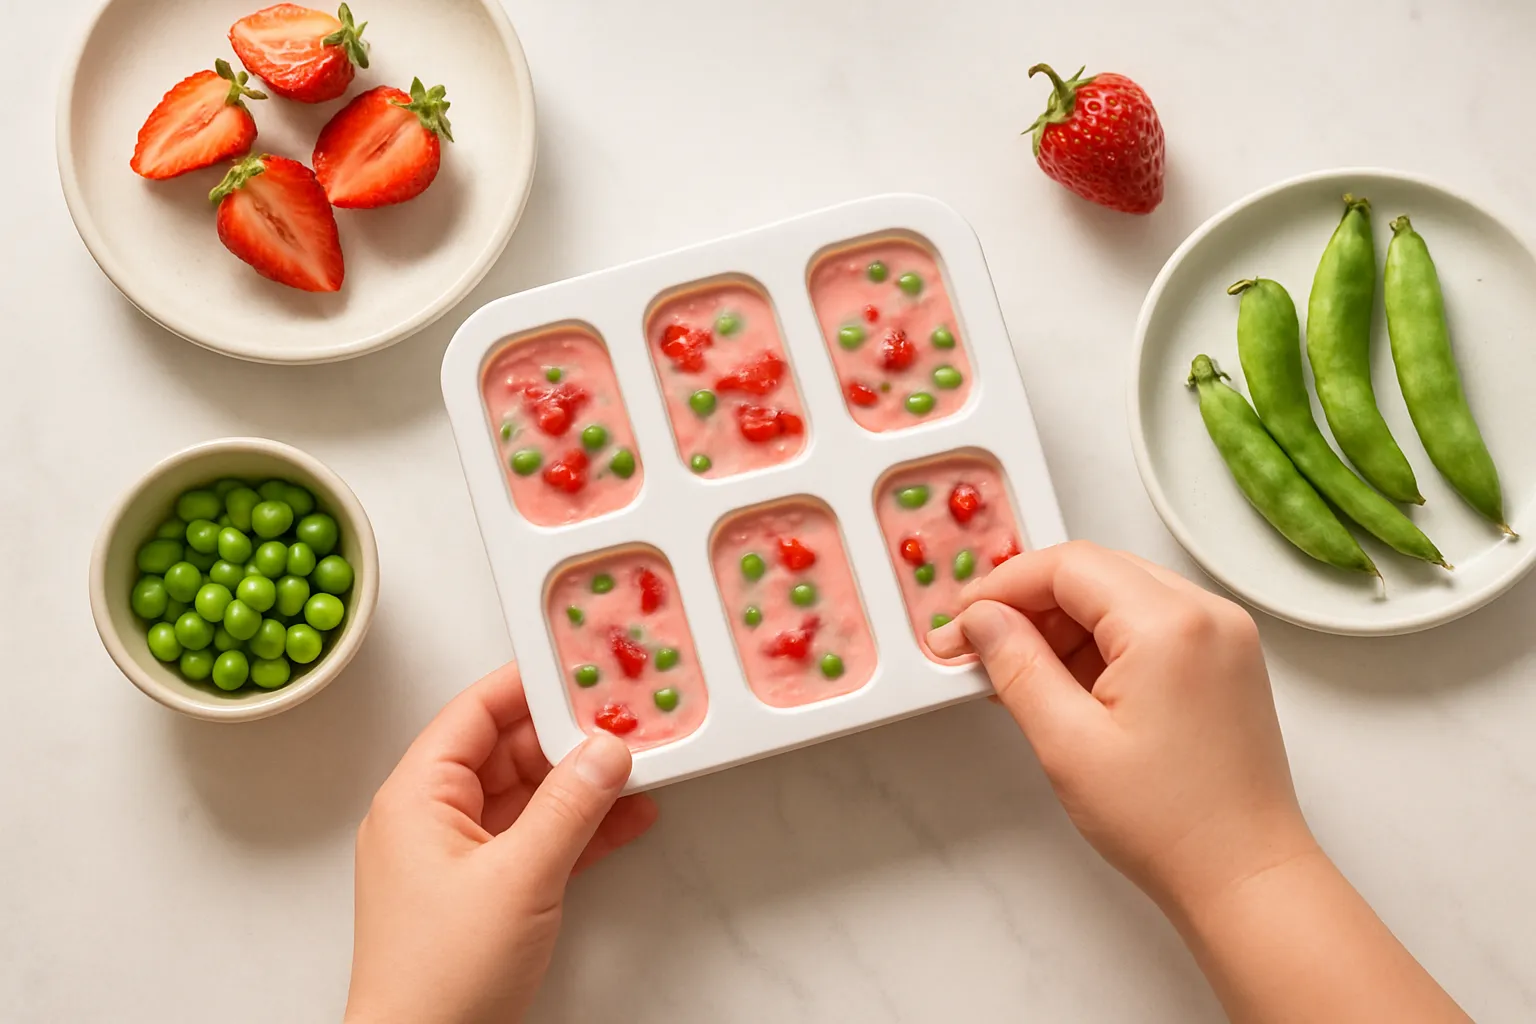
- Spoon into silicone pop moulds or ice-block moulds, leaving a small gap at the top for expansion.
- To avoid stick wobble, freeze for 30-45 minutes, then insert sticks. Return to the freezer until solid, 4 hours or overnight.
Freezing and storage
- Once frozen solid, pop out and store in a labelled freezer bag or airtight container. Lay a piece of baking paper between layers so they don’t stick.
- Use within 2-3 months for best flavour.
Thawing and serving
- For brekkie, thaw overnight in the fridge or leave on the bench for 10-15 minutes if you need it faster. Small toddler portions can be given partially thawed so they are spoonable rather than hard.
- For lunchboxes, keep in an insulated container with an ice pack. If it thaws a little by lunchtime, it still makes a chilled brekky.
Safety and portion notes
- Supervise eating. Pops are cold and can numb mouths; let little ones lick or hold and offer a spoon if partially thawed.
- For younger toddlers, serve scooped into a bowl once softened rather than giving the whole pop to gnaw on.
- If your child has dairy allergy, swap the yoghurt for coconut or oat yoghurt and add a splash of plant milk if the mix is too thick.
Variation ideas
- Protein boost: swap half the yoghurt for cottage cheese or silken tofu, blend smooth.
- Hidden veg: add a small handful of cooked, cooled carrot or beetroot. Strawberries hide the colour and flavour well.
- Oat-free: omit oats and add 1 tbsp chia seeds for thickness, but let the mix sit 10 minutes before filling moulds.
Batch tips
- Double up the recipe and use ice-cube trays for tiny tasters or baby-sized portions.
- Freeze in a flat tray first, transfer to a bag once solid, then portion into days to make mornings even easier.
Quick cleaning hack
- Silicone moulds are easiest. If using plastic moulds, run under warm water for a few seconds to release the pops cleanly.
Some nights are saved by a single tray or a big pot that you can portion and freeze. Here are easy, toddler-friendly dinners that freeze brilliantly, with quick notes on how to store and reheat.
Pea, mint and ricotta pasta bake
- Quick idea: mix cooked small pasta shapes with ricotta, handfuls of peas, a little grated mild cheddar and chopped mint. Spoon into a baking dish, top with extra cheese and bake until golden.
- Freeze: cool completely, cut into toddler-sized portions and freeze in airtight containers or foil trays. Keeps 2 months.
- Reheat: from frozen in the oven at 180°C covered with foil until hot throughout, then cool slightly. Microwave works for single portions; stir and check for hot spots.
- Toddler note: chop pasta small to reduce choking risk and keep salt very low.
Mini shepherd’s pies with broad beans
- Quick idea: brown lean mince with onion and grated carrot, stir through a handful of shelled broad beans and a splash of tomato, then top with mashed potato and bake in muffin tins for toddler-size pies.
- Freeze: cool, wrap individually or pack in a tray, freeze flat for 2-3 months.
- Reheat: oven from frozen 200°C for about 25-35 minutes until hot; microwave for single portions.
- Toddler note: mash the potato a little smoother for younger toddlers.
One-pot lemon chicken with peas and broad beans
- Quick idea: brown diced chicken, add stock, a squeeze of lemon, barley or orzo, and toss through peas and broad beans near the end so they stay bright. Cook until the grains are soft.
- Freeze: divide into portions in freezer containers. Keeps 2 months.
- Reheat: thaw overnight in the fridge or microwave from frozen with a splash of stock or milk to loosen the sauce.
- Toddler note: shred chicken finely and avoid whole beans for the youngest kids; mash slightly if needed.
Broad bean and feta potato patties
- Quick idea: mash cooked potatoes, fold through roughly mashed broad beans and crumbled feta, form small patties and pan-fry until golden.
- Freeze: flash-freeze on a tray, then bag up for easy grab-and-go dinners.
- Reheat: oven or skillet from frozen until heated through.
- Toddler note: patty size should fit your child’s hand; cut into strips for easier self-feeding.
Pea and ham risotto (or creamy pea parmesan risotto)
- Quick idea: make a simple risotto with arborio, a little onion, stock and lots of peas. Stir through finely chopped ham or parmesan. Finish with a knob of butter for creaminess.
- Freeze: cool and portion into small tubs. Keeps 2 months.
- Reheat: add a splash of milk or stock while reheating to keep it creamy.
- Toddler note: leave the risotto slightly looser than you would for adults so it is easy to spoon.
Tray-bake sausage and veg with peas
- Quick idea: place mild small sausages, chunks of sweet potato, pumpkin and a scattering of peas on a tray. Roast until cooked and soft.
- Freeze: pack leftover portions into tubs or foil trays.
- Reheat: oven from frozen or microwave a single portion.
- Toddler note: slice sausages into thin rounds for younger kids and keep seasoning mild.
Freezer and reheating basics to save you time
- Cool completely before freezing to avoid ice crystals.
- Portion for toddlers: think small tubs or muffin tin-size portions so you only defrost what you need.
- Label with name and date; aim to use within 2 months for best texture and flavour.
- Thaw overnight in the fridge where possible. From frozen works for oven/air-fryer; microwave is fastest for single serves.
- Always check the food is steaming hot throughout, then cool to a safe eating temperature. Stir between reheats to avoid hotspots.
- Keep salt and strong spices low for little ones and cut food into appropriate sizes to reduce choking risk.
A simple weekend plan
- Pick two bakes and one one-pot: do the pasta bake and mini shepherd’s pies in the oven together, and simmer the lemon chicken on the stove. Portion everything into toddler tubs and freeze. That gives you 6-9 ready dinners and makes weeknights much calmer.
Small swaps will stretch the recipes: frozen peas and broad beans can replace fresh, grated carrot or pumpkin bulk out mince, and small pasta shapes or rice can be cooked fresh and paired with any frozen portion. These dinners are about speed, gentle flavours and easy reheating so you can get food on the table without the weekday scramble.
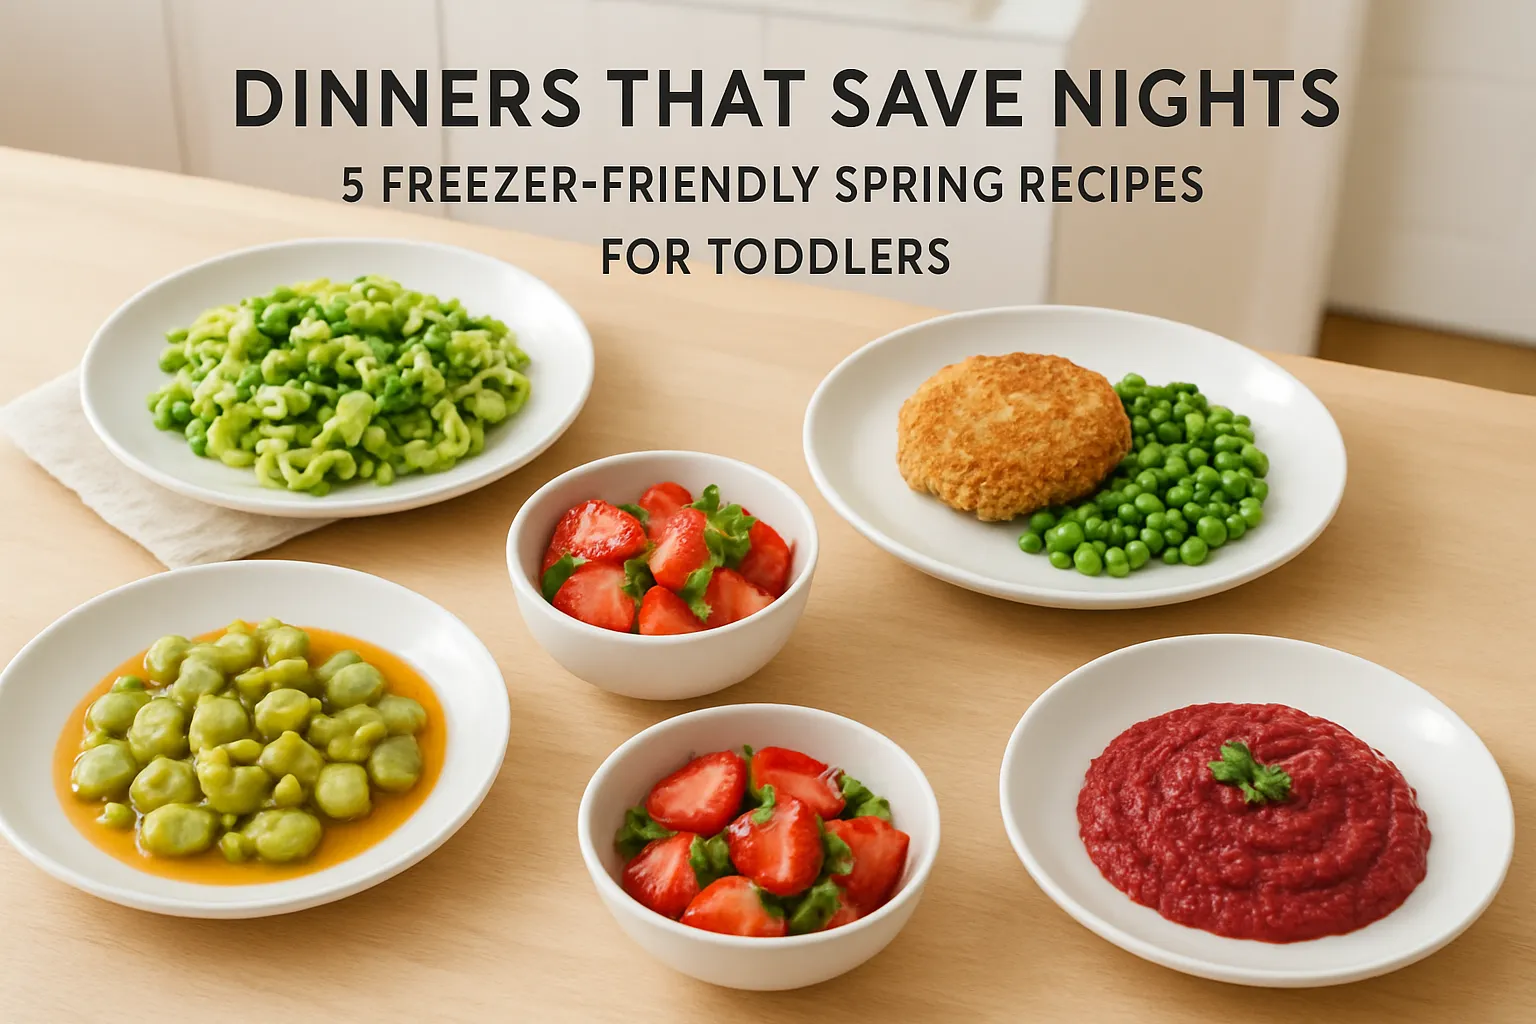
Photo credit: Pexels
Browse Cuisines
From the Blog
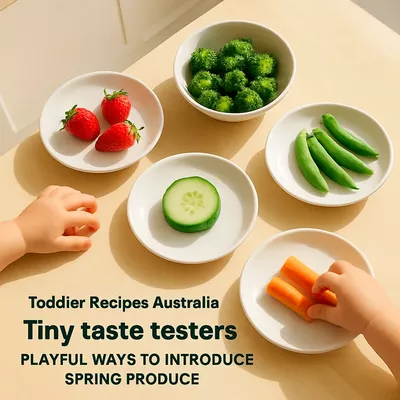
First up, a few no-fuss spring winners that keep sticky fingers and big clean-ups to a minimum. Quick to prep and easy for little hands to manage, these are the sorts of things I reach for when we want something...
Nice - here’s how Steve keeps dinner simple without sacrificing flavour or sanity. A few good habits and the right packing tricks mean you can pull a proper family meal out of the freezer in minutes.
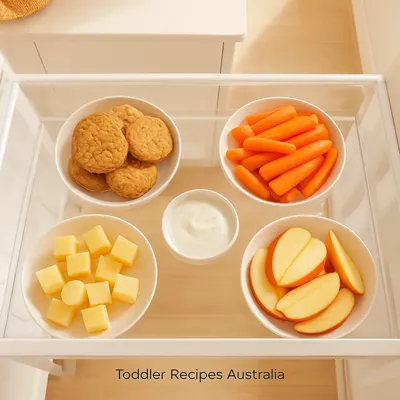
Righto, a couple of quick fridge fixes will make everything a whole lot easier. These are the simple, practical habits and setups that keep snacks safe, obvious and actually reachable for little hands.
 Never miss a recipe from us, subscribe to our newsletter